Unlocking the Secret to Martha Stewart's Unbelievably Fluffy & Tender Buttermilk Pancakes
Imagine waking up to the aroma of warm, golden-brown pancakes, so irresistibly fluffy and tender they practically melt in your mouth. This isn't just a dream; it's a reality made possible by none other than Martha Stewart herself. Her signature
homemade buttermilk pancakes are celebrated for their unparalleled texture and exquisite flavor, proving that the best comfort food often comes from scratch. Forget mediocre box mixes; Martha’s recipe is remarkably easy to follow and guarantees a superior breakfast experience that will undoubtedly become your new go-to.
What makes these particular buttermilk pancakes stand out? It's a combination of simple ingredients, precise technique, and the magical touch of buttermilk. Every bite delivers a subtly tangy, rich flavor, encased in a cloud-like structure that defies belief. Whether you're a seasoned home cook or just starting your culinary journey, mastering these fluffy buttermilk pancakes is a rewarding endeavor that promises to elevate your breakfast game to an entirely new level.
The Simple Art of Crafting Martha's Signature Batter
Martha Stewart’s approach to making these delightful buttermilk pancakes emphasizes simplicity and a specific technique that ensures maximum fluffiness and tenderness. The process begins with combining your dry ingredients: flour, sugar, leavening agents, and a pinch of salt. This initial step is crucial for even distribution, particularly of the baking soda and baking powder, which are vital for the pancakes' rise.
Once your dry ingredients are whisked together, the magic happens when you gently incorporate the wet components. Here’s where the key to their ethereal texture lies: buttermilk, eggs, and melted butter. The instruction is clear and vital:
combine until just mixed. This isn’t a moment for aggressive whisking or striving for a perfectly smooth batter. In fact, you *want* small to medium lumps. Overmixing develops the gluten in the flour too much, resulting in tough, chewy pancakes rather than the tender, airy ones Martha promises. A lumpy batter is a happy batter, signaling that the gluten is relaxed and ready to expand beautifully during cooking.
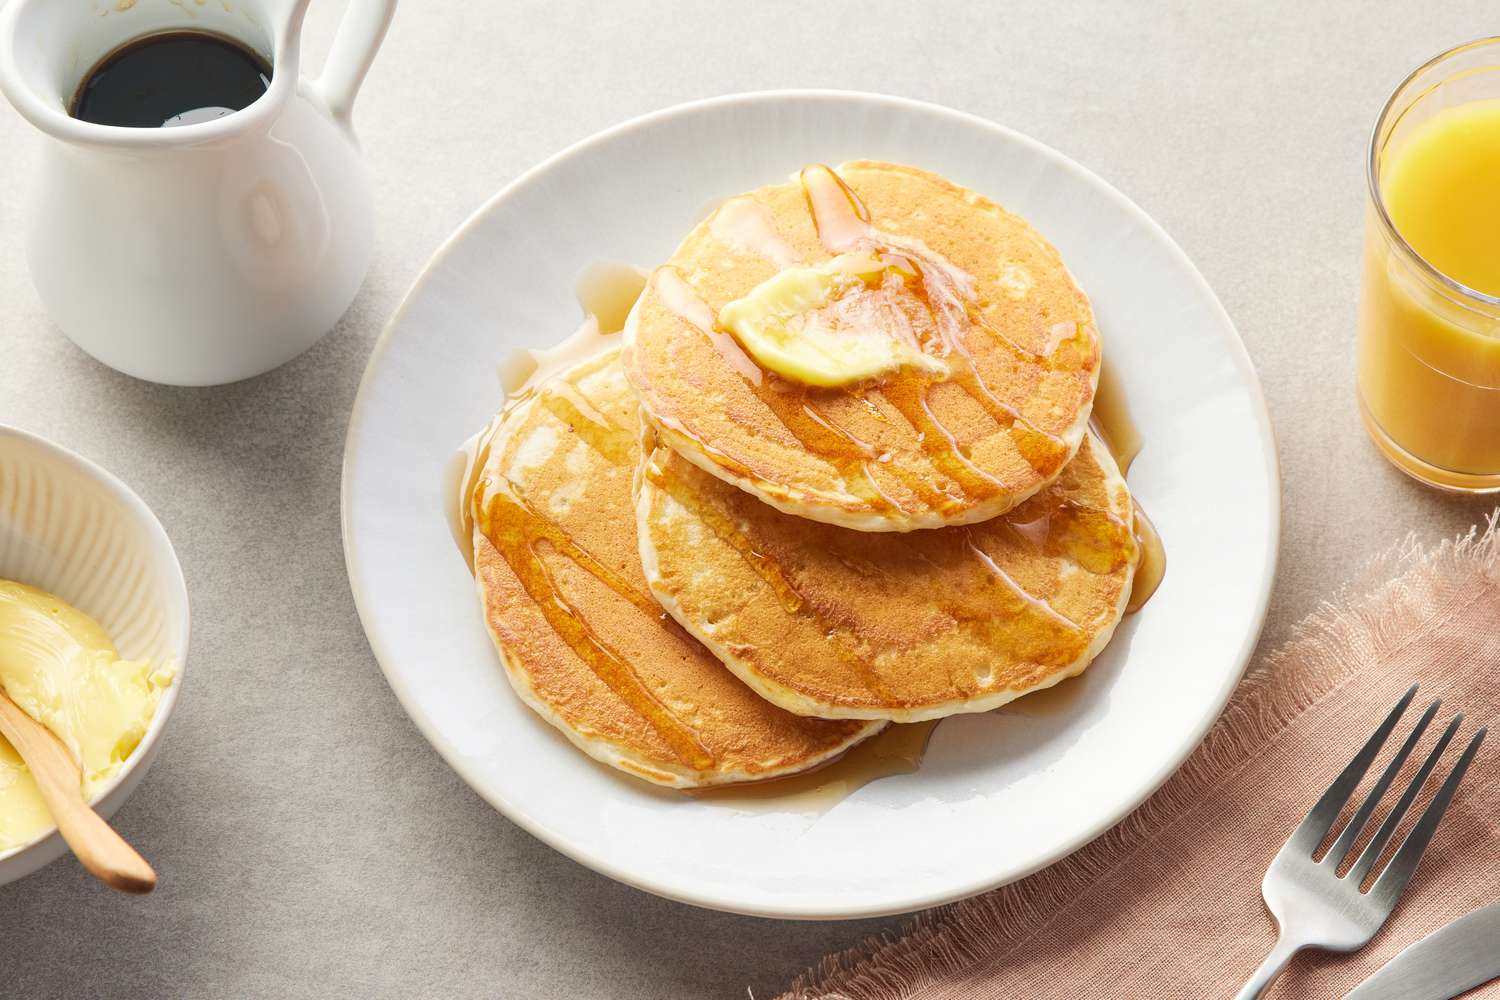
Serving these golden discs of joy is entirely up to your preference. For a classic experience, a pat of butter melting into warm maple syrup is unbeatable. If you're a fruit lover, consider adding fresh blueberries directly to the batter for bursts of sweetness, or serve them on the side. For the ultimate breakfast feast, go maximalist with crispy bacon and perfectly cooked eggs. The versatility of these buttermilk pancakes means they can be the star of any breakfast or brunch spread.
Unpacking the Magic Ingredient: What is Buttermilk, Really?
Buttermilk is often shrouded in a bit of mystery, its name leading many to believe it's a simple blend of butter and milk. However, the truth is far more intriguing. Traditionally, buttermilk was the thin, slightly tart liquid left behind after churning butter from cream. This byproduct was naturally fat-free, yet it retained the lactose from the cream. Exposed to airborne bacteria (in the days before pasteurization), the lactose would ferment into lactic acid, causing the liquid to thicken and develop its characteristic tangy, sour flavor.
Today, the buttermilk we find in grocery stores is known as
cultured buttermilk. It's produced by taking pasteurized non- or low-fat milk and introducing specific bacterial cultures. These cultures work their magic, converting lactose into lactic acid, which gives cultured buttermilk its distinct tang, slightly thicker consistency, and incredible leavening power. This modern version delivers all the culinary benefits of traditional buttermilk without the need for a butter churn.
No Buttermilk? No Problem! Easy Substitutions
While true buttermilk is ideal for Martha's recipe, sometimes you find yourself without it. Don't let that stop your pancake dreams! There are a few excellent substitutes you can whip up with common pantry staples:
*
The Greek Yogurt Method: Whisk together 1 cup of plain Greek yogurt with 2 cups of milk. This creates a thick, tangy mixture that closely mimics the texture and acidity of buttermilk.
*
The Lemon Juice/Vinegar Method: For a quick fix, add 1 tablespoon of white vinegar or lemon juice to a liquid measuring cup. Then, fill the rest of the cup with regular milk (dairy or non-dairy) until it reaches the 1-cup mark. Stir gently and let it sit for 5-10 minutes. The milk will curdle slightly and thicken, becoming an acceptable buttermilk substitute.
*
Basic Pancakes: If you prefer to stick to standard ingredients, you can always make a basic pancake recipe that calls for regular milk. While delicious, these won't have the same tang or tender structure that buttermilk provides.
Choosing a substitute ensures you can still enjoy a delicious stack, but for the authentic Martha Stewart experience, cultured buttermilk is truly the star.
The Science Behind the Fluff: Why Buttermilk Reigns Supreme
The reason buttermilk pancakes are often considered the gold standard isn't just about taste; it's rooted in fascinating food science. The magic lies in the interaction between buttermilk’s acidity and the leavening agents typically used in pancake recipes, primarily baking soda and baking powder. This powerful combination works synergistically to create those coveted tall, fluffy, and tender pancakes. For a deeper dive, check out
The Science of Fluffy Pancakes: Why Buttermilk is the Secret.
Buttermilk's inherent acidity is the catalyst that kickstarts the baking soda into action. When baking soda (sodium bicarbonate) encounters an acid, it produces carbon dioxide gas. This gas creates tiny bubbles within the batter, which expand as the pancakes cook, giving them extra height and a light, airy texture. Without an acid like buttermilk, baking soda wouldn't react as effectively, leading to flatter, denser pancakes.
Interestingly, Martha Stewart's recipe, like many others aiming for peak fluffiness, uses *both* baking soda and baking powder. This isn't redundant; it's a strategic move for optimal results. While baking soda reacts with the buttermilk, baking powder offers a dual-action leavening process. Baking powder contains both an acid and a base, allowing it to react twice: once when it's combined with wet ingredients, and again when it's exposed to heat. This second heat-activated reaction produces a burst of bubbles as the pancake cooks on the griddle, forming even more tiny air pockets that contribute to their incredible fluffiness. Using both ensures maximum lift without imparting a metallic taste, which can occur if too much baking soda is used alone.
Beyond its leavening power, buttermilk also contributes to the pancakes' tenderness. The acid helps to break down strands of gluten in the flour. Gluten development is what gives baked goods structure, but too much can lead to chewiness. By gently tenderizing the gluten, buttermilk ensures a delicate crumb that is incredibly soft and pleasant to eat. Finally, the subtle tang from the lactic acid in buttermilk adds a complex flavor dimension that elevates the overall pancake experience, distinguishing it from simpler, milk-based recipes.
Mastering the Griddle: Tips for Perfectly Cooked Pancakes
Achieving the perfect buttermilk pancake extends beyond just the batter; the cooking process is equally vital. Whether you're using an electric griddle, a trusty cast-iron skillet, or a nonstick pan, a few key techniques will ensure a golden exterior and a tender, fully cooked interior every time.
1.
Preheat Thoroughly: The biggest mistake people make is not preheating their cooking surface adequately. A properly heated griddle or pan ensures even cooking and that beautiful golden-brown crust. Aim for medium heat; too low, and your pancakes will be dry; too high, and they'll burn on the outside before cooking through. You can test the temperature by sprinkling a few drops of water on the surface; if they sizzle and evaporate within a second or two, it’s ready.
2.
Lightly Grease: A thin layer of butter or neutral oil (like canola or vegetable oil) is all you need. Wipe off any excess with a paper towel to prevent greasy edges.
3.
Portioning: Use a 1/4 cup or 1/3 cup measure for consistent pancake sizes. Pour the batter directly onto the heated surface, leaving enough space between each pancake for easy flipping.
4.
The Flip Test: Knowing when to flip is crucial. Look for key indicators:
*
Bubbles: Small holes will begin to appear on the surface of the pancake.
*
Dry Edges: The edges of the pancake will start to look dry and set, pulling away slightly from the pan.
*
Color: Peek underneath with a spatula if you're unsure – the underside should be golden brown.
Once you see these signs, it's time to flip.
5.
Second Side Cooking: The second side generally takes roughly half as long to cook as the first. This is because the batter is already partially cooked and the heat is retained in the pancake. Keep an eye on it until it's golden brown and cooked through.
6.
Resting the Batter: While the reference mentions mixing just until combined, a crucial tip often shared by seasoned chefs is to allow your pancake batter to rest for 5-10 minutes after mixing. This allows the flour to fully hydrate and the leavening agents to begin their initial reaction, resulting in an even more tender and consistent pancake. Avoid chilling the batter; room temperature is best for consistent cooking.
By paying attention to these details, you'll produce buttermilk pancakes that are griddled to perfection – golden, tender, and free of any uncooked batter bits.
Conclusion
Martha Stewart's recipe for fluffy and tender
homemade buttermilk pancakes is a testament to the power of quality ingredients and precise technique. It demystifies the art of making truly exceptional pancakes from scratch, proving that achieving restaurant-quality results in your own kitchen is entirely within reach. From understanding the unique properties of buttermilk and its scientific interaction with leaveners to mastering the griddle, every step contributes to a breakfast masterpiece. Embrace the lumps in your batter, watch for those tell-tale bubbles, and get ready to enjoy a stack of the most delicious, cloud-like pancakes you've ever tasted. This isn't just a recipe; it's an invitation to make a new tradition, ensuring you'll
never use a mix again.